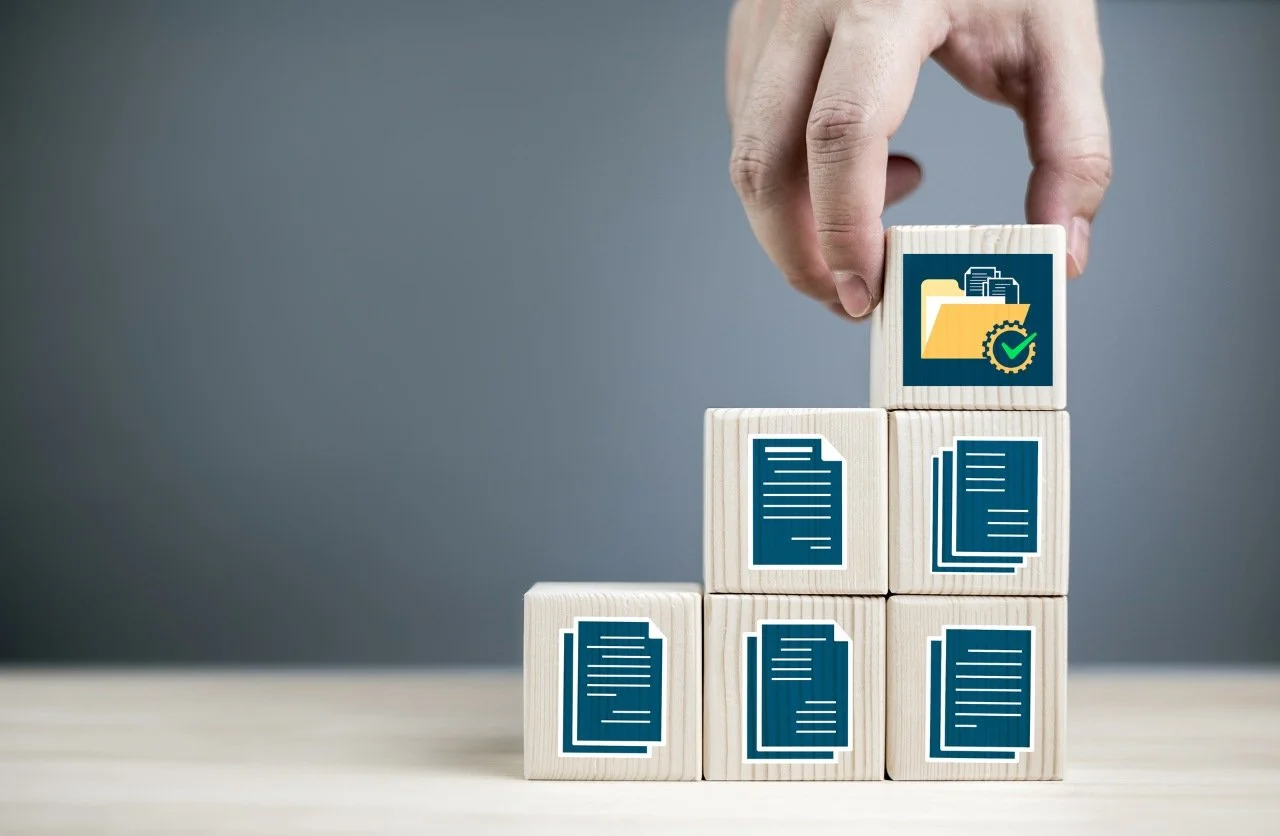
How to redact a PDF: A step-by-step guide
Redacting a PDF can be a lengthy process, what with sensitive details, legal stakes, and technical quirks. Yet with the right approach, you can lock down confidential information without a glitch. In this guide, we’ll walk through each stage: from picking the right software to verifying that nothing slips through the cracks. By the end, you’ll know exactly how to redact a PDF and protect your data with confidence.
Choose the right tool
Before anything else, you need to settle on software that’s up to the task. Not only should it permanently remove content, but it must also leave no trace in metadata or hidden layers. Free tools exist, sure - but they often fall short on thoroughness. Instead, look for a solution that centralizes redaction and sanitization. Pimloc’s Secure Redact is one such option, built for compliance and transparency and designed to handle large batches while ensuring legal defensibility.
Protect confidential info in PDFs and video files.

Open your PDF securely
Once you’ve chosen your application, open the document in a secure environment. Maybe you’re working on a shared network drive - exercise caution. You can think of this as the “chain of custody” for your file. If an unauthorized copy lingers on a temp folder, all your redaction work might be for naught. So:
Verify the file path
Confirm permissions
Use sandboxed or encrypted storage
Select and apply redaction marks
This is where the magic happens. Most professional tools provide a redaction toolbar - look for labels like “Mark for Redaction” or an icon depicting a black bar. Click and drag over the text or image you want to hide. We recommend zooming in to ensure precision; redacting “Mr. Smith” shouldn’t accidentally include the next line. If you’re covering entire pages, check whether you can flag them in bulk rather than one box at a time.

Review and adjust annotations
After marking, take a moment to inspect every redaction box. It’s easy to miss small snippets tucked in headers or footers. Scroll through each page in thumbnail view, and double-check any dynamically generated content - forms, comments, annotations. You can assume that you’ve caught everything, but then again, it’s not quite that simple - a quick sweep now saves embarrassment later.
Sanitize hidden data layers
Not only does marking content matter, but so does purging all hidden artifacts. PDFs can harbor metadata, embedded attachments, invisible form fields and even previous versions of text. Look for a “Sanitize” or “Remove Hidden Information” option in your tool. When you run it, the software should strip out:
Metadata (author names, edit timestamps)
Hidden text or objects
Attached files
JavaScript actions
This single bullet list captures the core elements to clean up - no more, no less.
Apply final redactions
At this stage, redaction boxes are visible overlays - nothing’s permanent yet. Hit “Apply Redactions” or “Commit Changes.” The tool will replace marked regions with solid black blocks (or a custom color if allowed), and overwrite underlying content. It’s irreversible, so make sure you have a backup of the original file - just in case you need to reference unredacted text down the line.
Save and export your document
We think of this as the last mile. Not only is saving key, but ensuring the file you share is indeed the redacted version is vital. Save under a new filename - append “_RED” or something similar. Then, open that copy and search for key terms you thought you’d removed. If “SSN” still pops up, go back. Once everything checks out, export or print to PDF again if your tool recommends it; some viewers render applied redactions more securely when a fresh PDF is generated.
And to be fair, if you’re handling high-stakes compliance requirements or massive doc sets, you might consider an enterprise-grade option. Pimloc’s Secure Redact is built for compliance and transparency and can automate repetitive tasks while maintaining an audit trail.
Final thoughts
Redacting a PDF doesn’t have to be difficult. We’ve covered everything from selecting software to sanitizing hidden layers, and finally verifying the result. None of it’s optional - each step reinforces the others. But follow this workflow, and you’ll sidestep common pitfalls and keep sensitive data under lock and key.