
Pimloc Help Guide
Your go-to guide for Pimloc Redact, Pimloc Transcribe and Pimloc Investigate, across video, audio, documents and images.
New to Pimloc? Start here.
Upload a video, audio file, document or image, then choose what you need. Pimloc Redact finds and removes personal data. Pimloc Transcribe turns speech into an editable transcript. Pimloc Investigate lets you search your video in plain language to find people, objects or scenes fast.
Download our sample files here to try out all of Pimloc’s features.
Key terms for Pimloc
Redaction box: the box over anything that will be redacted, such as a face, license plate or line of text, in an image, a document page or a single video frame.
Track: a run of redaction boxes following the same face, license plate or object through the video.
Audio range: a section of audio marked for redaction, shown as an orange bar on the waveform.
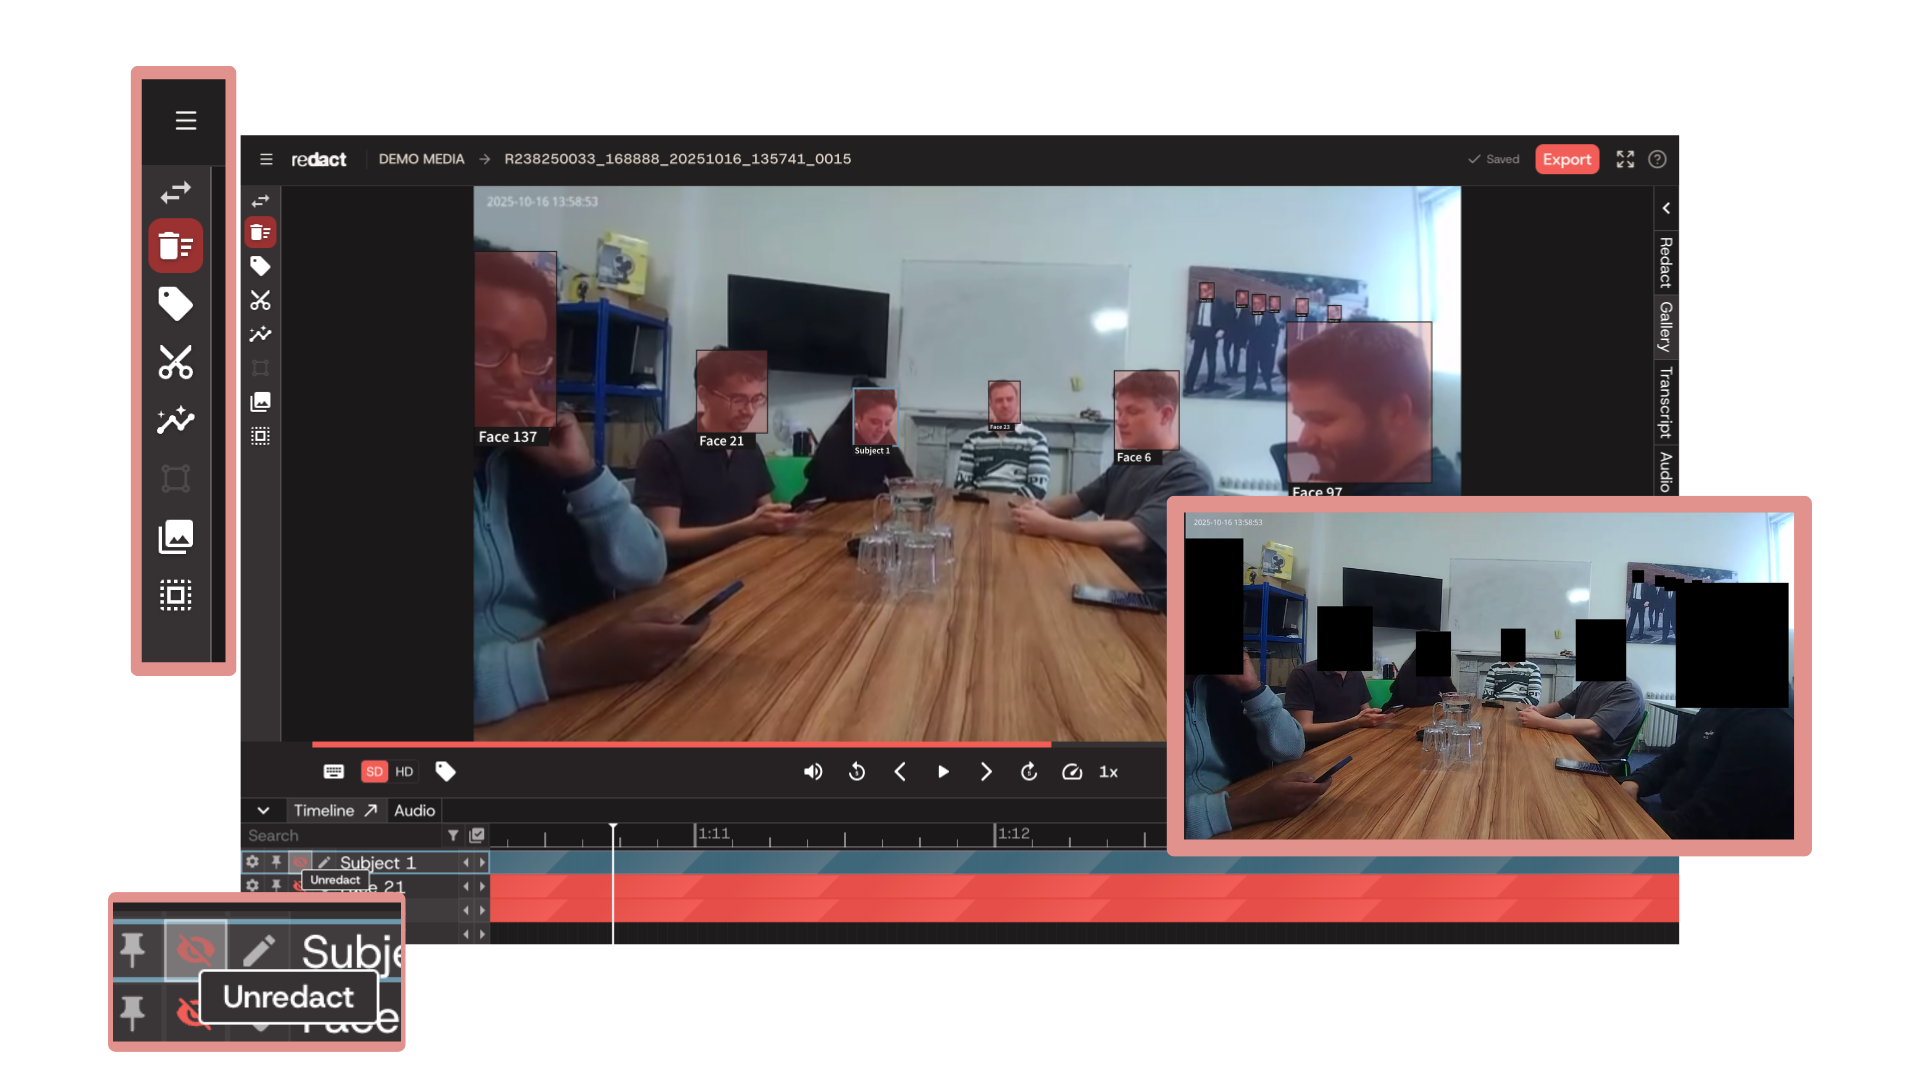
Pimloc Redact
Step-by-step guides to redacting video, audio, documents and images with Pimloc Redact.
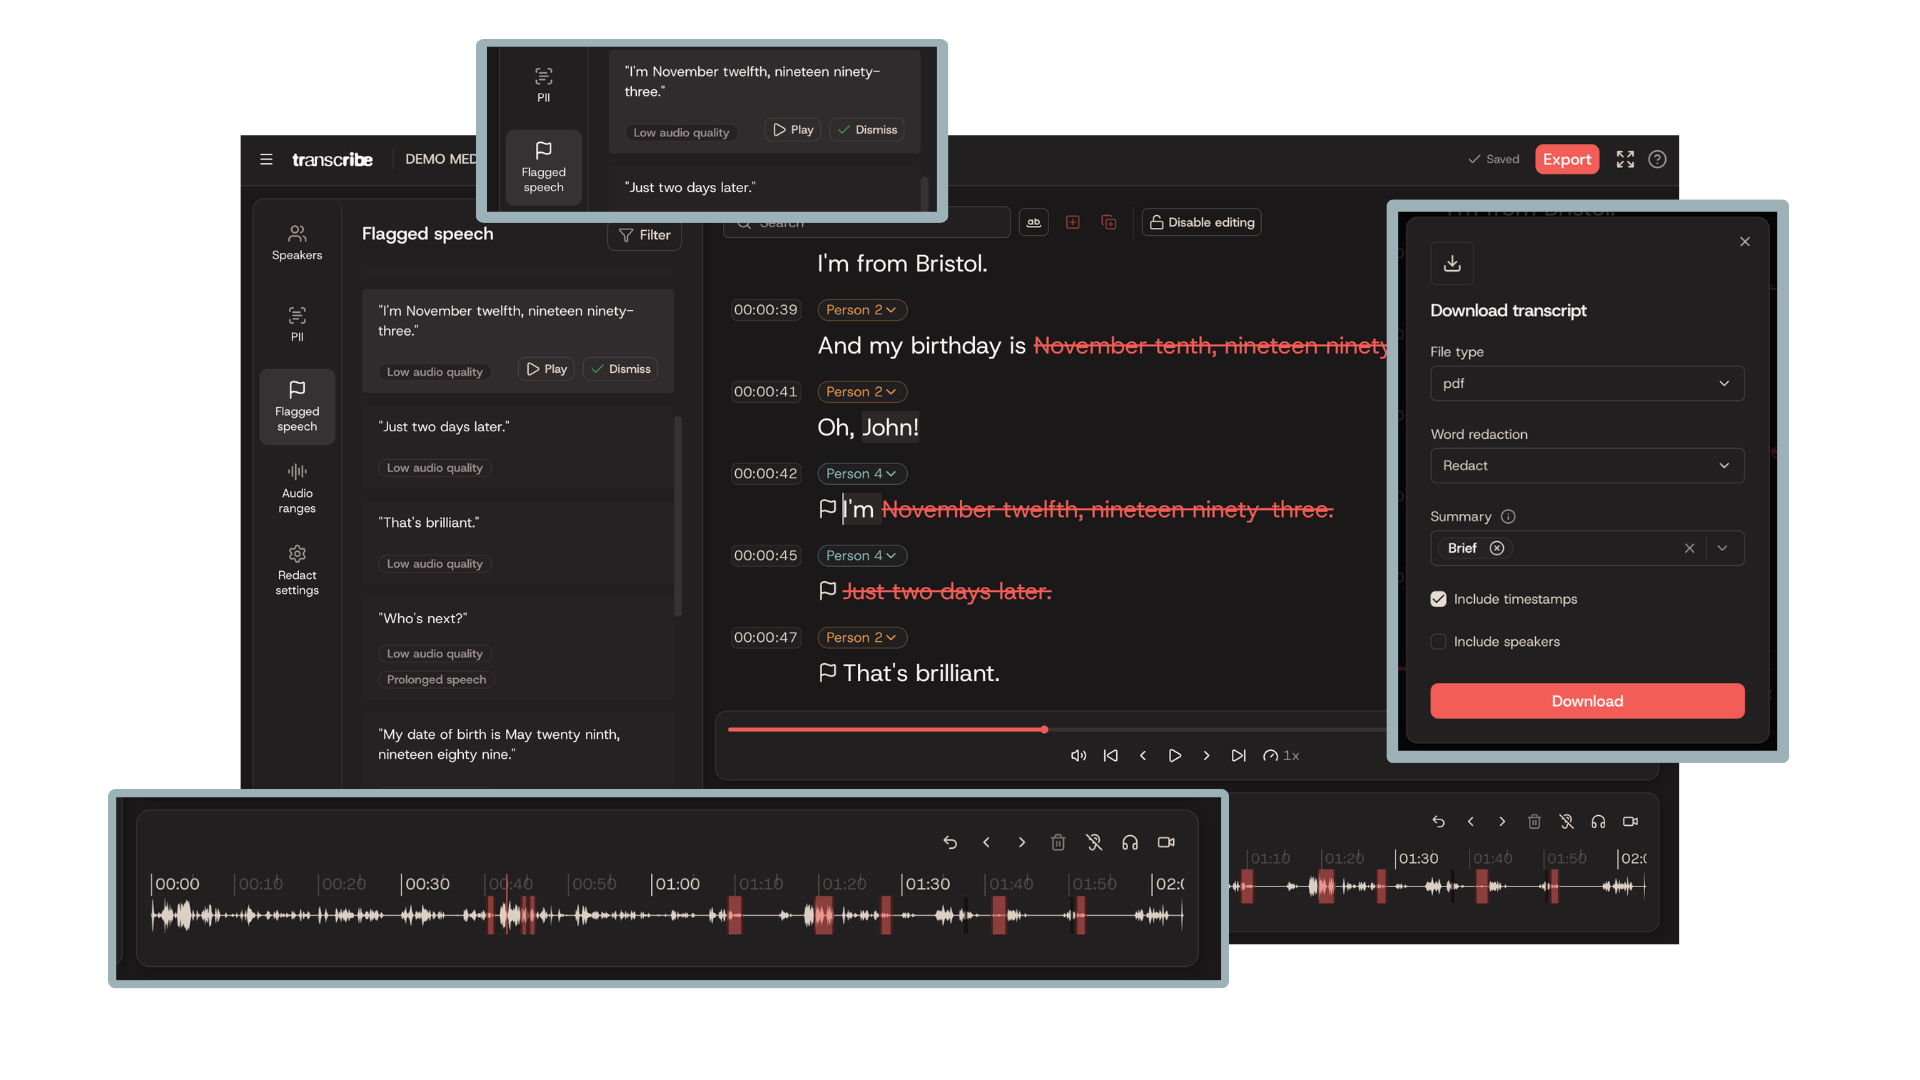
Pimloc Transcribe
Step-by-step guides to transcribing audio in video and audio files, with Pimloc Transcribe.
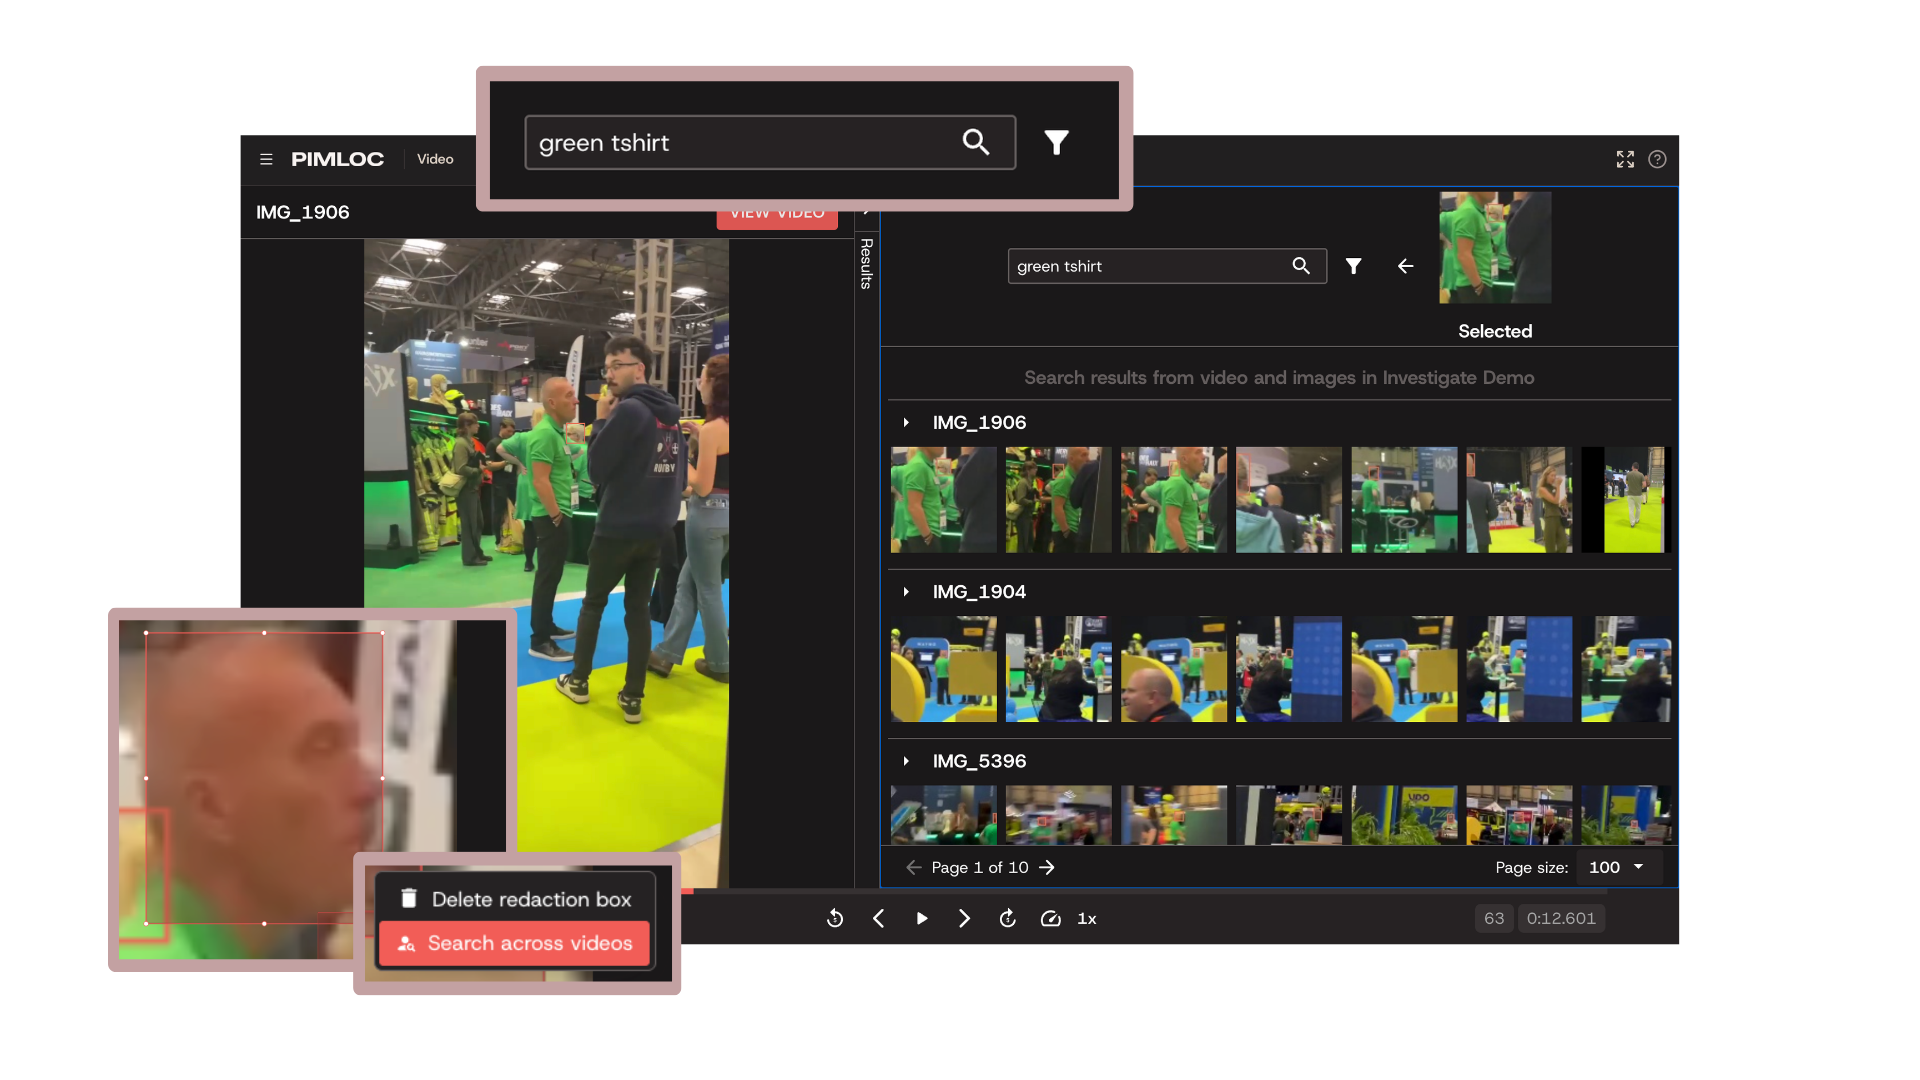
Pimloc Investigate
Step-by-step guides to searching your video and finding what matters with Pimloc Investigate.
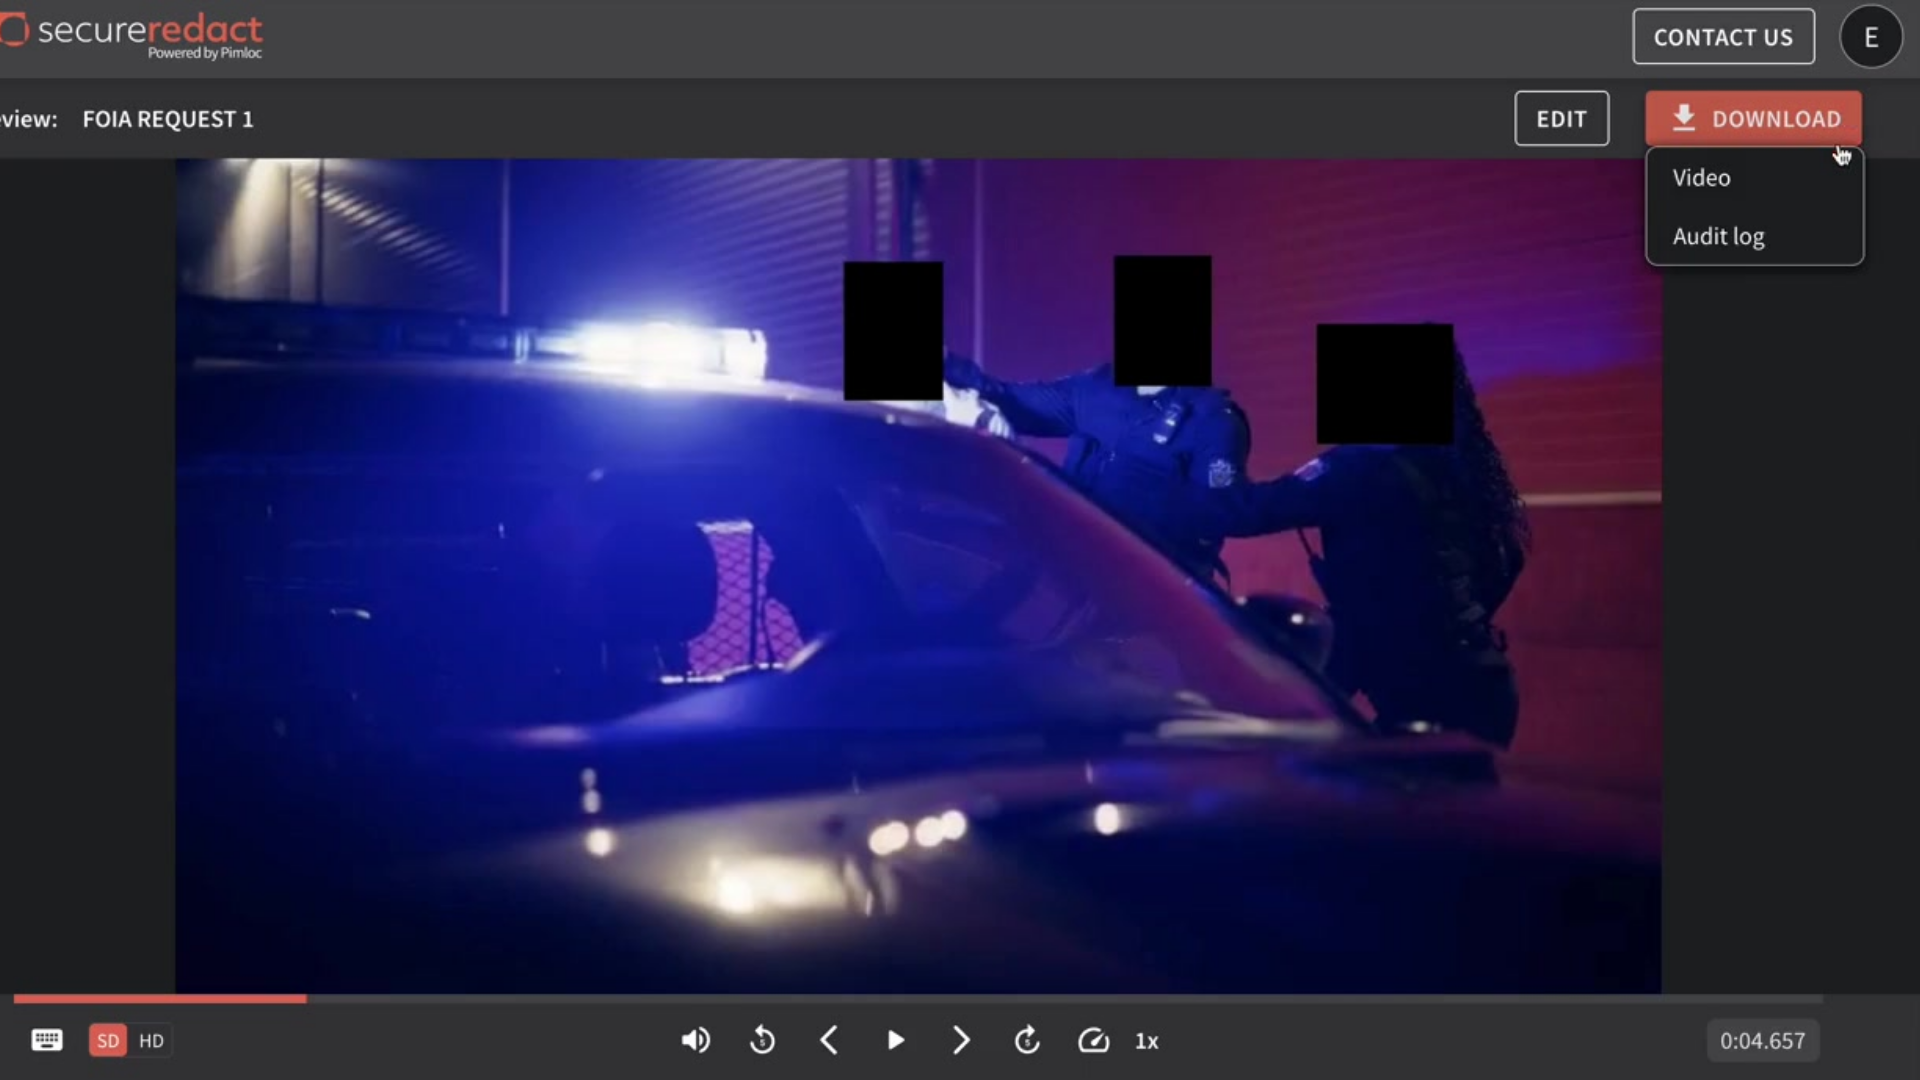
Pimloc Chain of Custody
Automatically generate an audit trail of all activity applied to any file, for secure processing, redacting, storing, and sharing.
Secure Redact Enterprise
-
For all you need to know on the Enterprise Dashboard, visit here.
-
To learn more about how to view, add, edit or delete users in your Secure Redact Account, visit here.
-
To learn more about managing your team’s projects, visit here.
-
Visit How to delete a project.
-
To connect an integration to your Secure Redact Account, visit here.
-
To learn more about your Activity logs, visit here.
-
To become an Enterprise customer and add multiple users to your account, process large amounts of video and other benefits - please contact us to find out more.
-
Go to our APIs page.
-
Visit our CloudConnect page.
-
Your current plan may have a set number of minutes. If you need to add more:
Email your Customer Success Manager with a request to add more minutes to your account.
Once your request has been received, your Customer Success Manager will provide you with instructions on how to proceed.
You will need to manually send out an invoice for the additional minutes. Once payment has been received, inform your customer success manager so they can add the minutes to your account.
For more information about pricing options or any other questions, contact us.
-
If you’re having trouble connecting to the app, or you’re not getting verification/password reset emails from us, check these 4 things:
Are you using Google Chrome? Make sure you are.
Is your browser up to date? Update it to be fully secure.
Have you cleared your cookies and caches?
Is our domain (https://app.secureredact.co.uk for EU/UK users or http://app.secureredact.usfor US users) whitelisted by your IT department?
If you have checked all 4 things and are still having issues, please contact us at support@secureredact.ai.
Product FAQs
-
Description text goes here
-
Description text goes here
-
Description text goes here
-
Visit here to learn all the keyboard shortcuts.
-
There is no need to be concerned about saving your work when navigating back to your homepage (by clicking the Secure Redact logo), or when logging out, because your work autosaves almost immediately after each action you perform.
-
-
Clip or trim videos/audio files before upload
If you’re on the Advanced subscription plan, or you are a Secure Redact Enterprise customer, you can trim videos upon upload (simply click advanced settings).
However, if you are on the Free Trial or Pro subscription plan, this is not possible.
Clip or trim videos/audio files after upload
All users can trim or clip a video or audio file after upload. Only clipped sections will be exported for download when clicking “Export”.
To trim or clip a video or audio file after upload, go to the Redact Panel.
Click the + button next to Clip.
Type in start and end times for clips, or click “Set to current time” to change to the current video or audio frame.